FILM RESTORATIONS
Packaging FILM Elements- From the Distribpix Archives

Aug
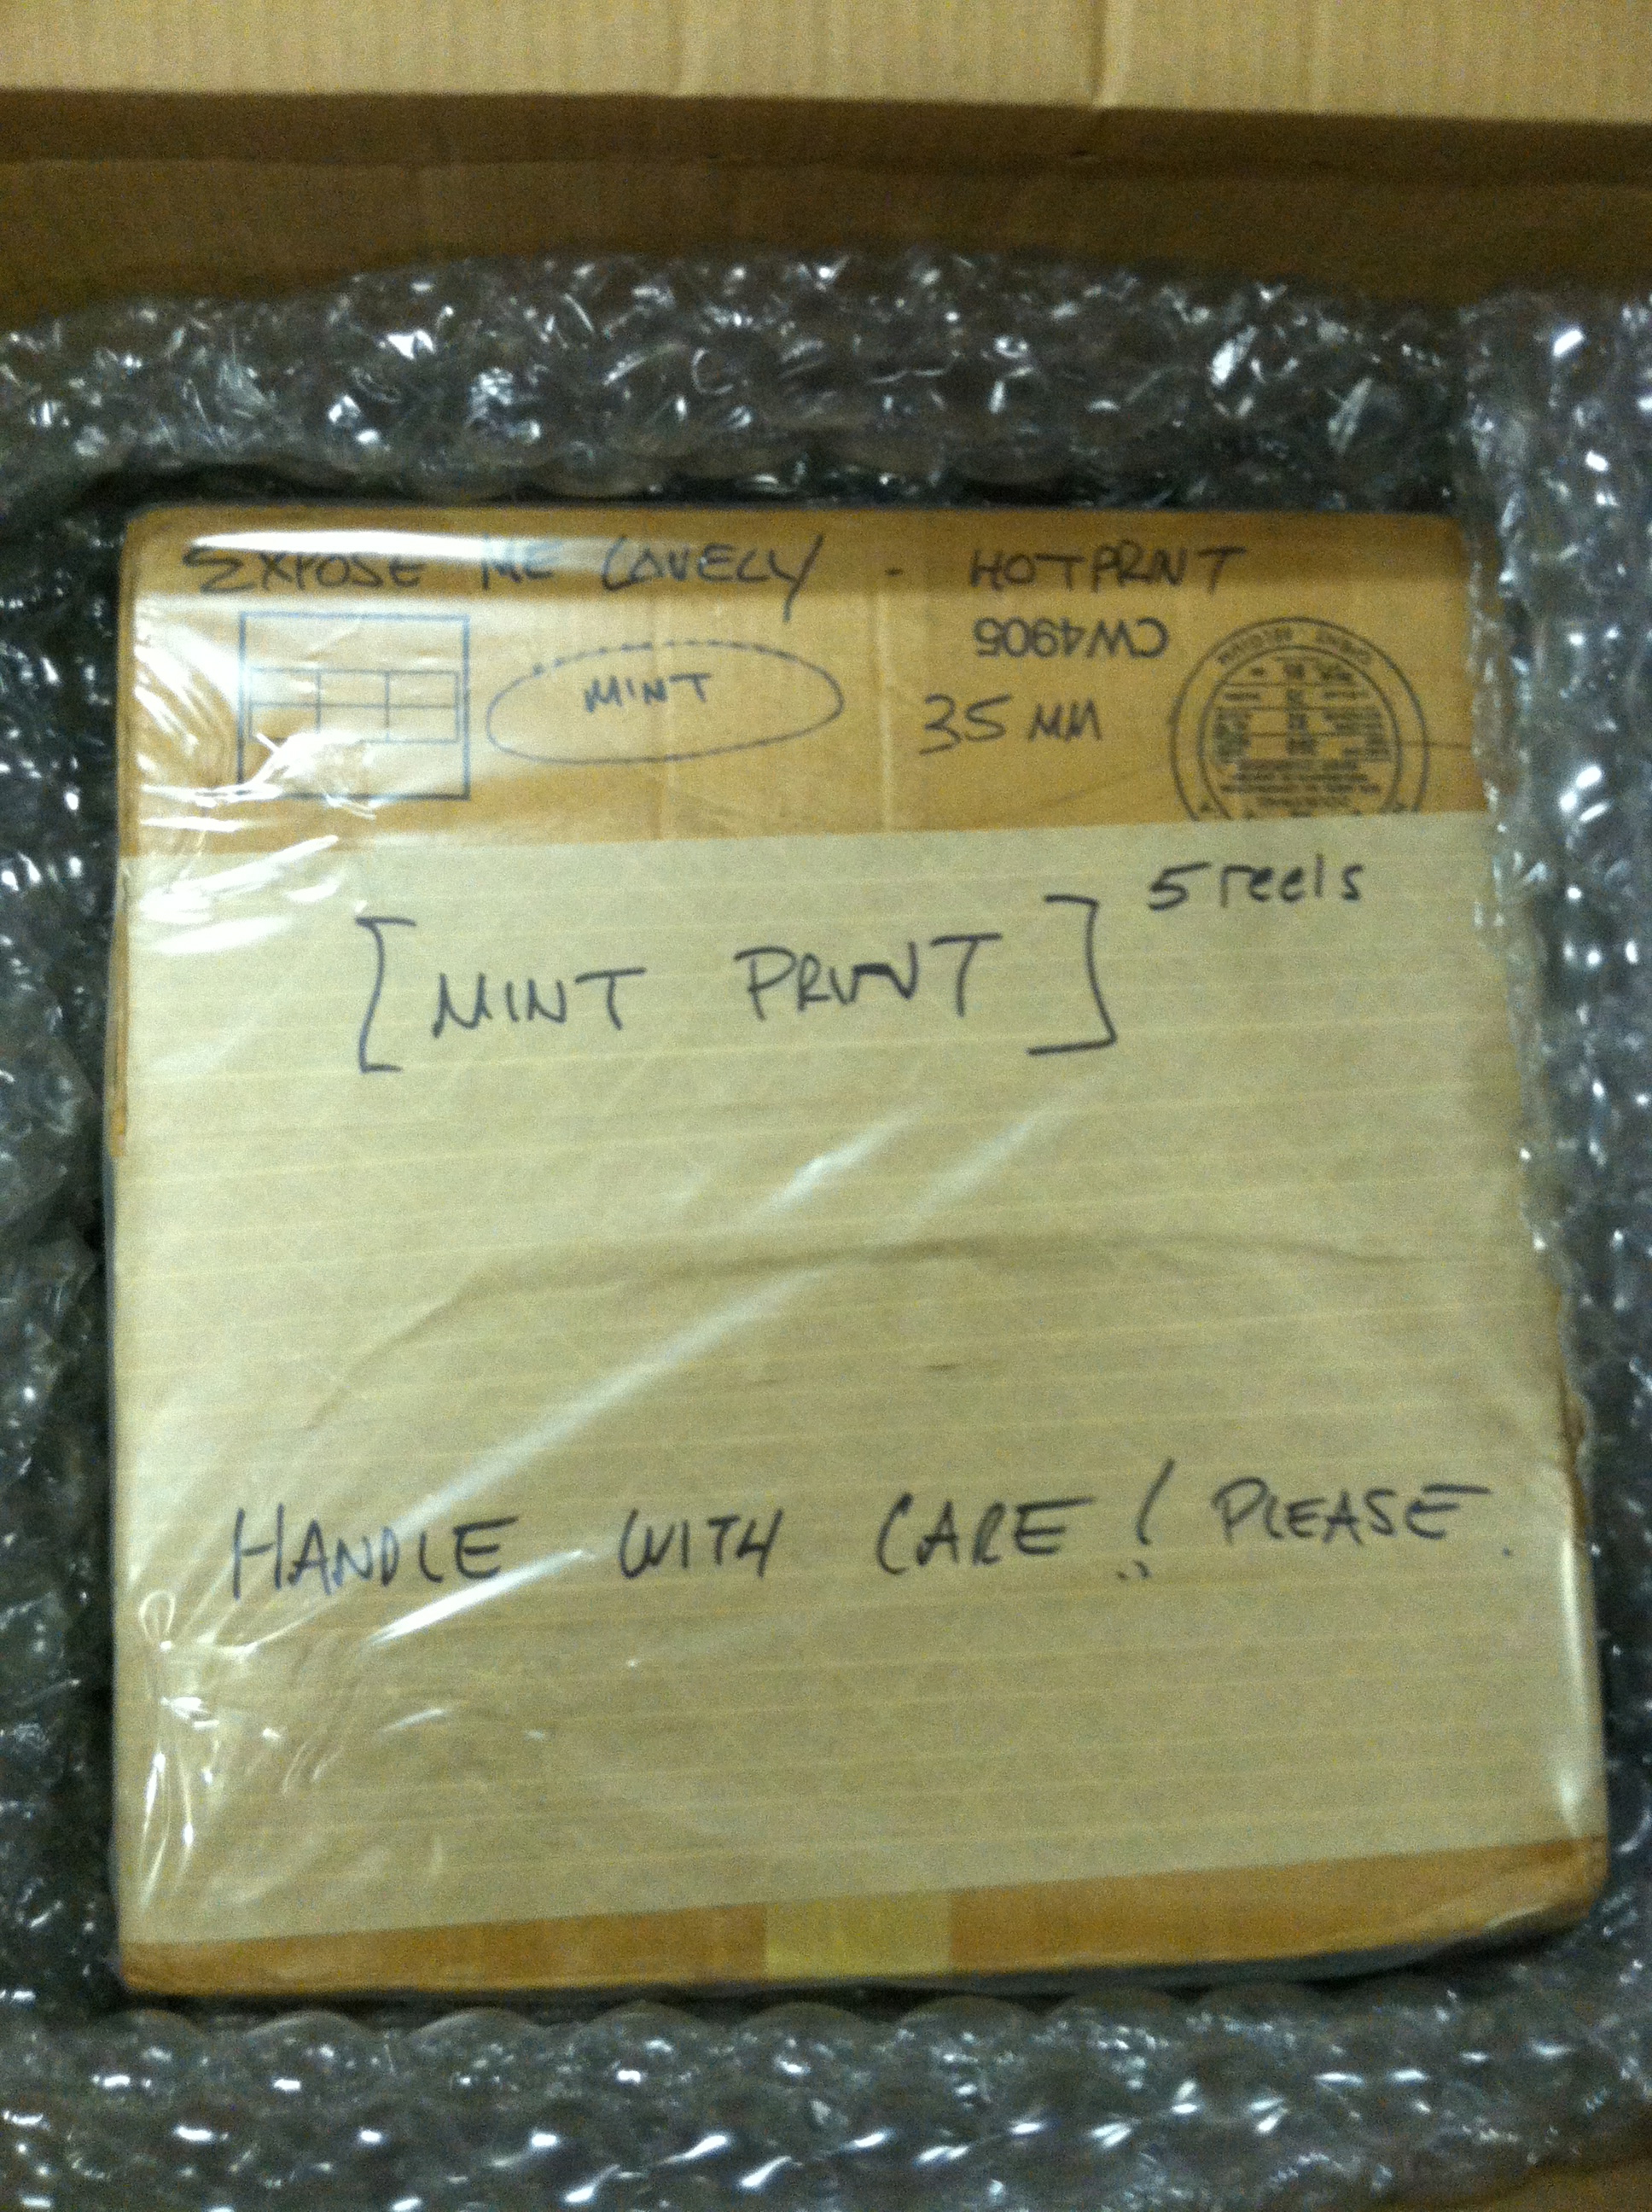
Expose Me Lovely-Packaging FILM Elements for Shipping
It is not uncommon to have print requests for theatrical screenings all over the country, and in many cases we are able to accommodate. About 2 weeks ago, I was told that I needed to send a MINT Print, to a theater in Chicago. I was to send the parcel Fed Ex, with insurance and needed to get it out ASAP.
As for archival elements they can really come in many shapes and sizes, some are in suitcase style film carriers, others in tins, some on spools, and some just naked( plastic bags). To be blunt, if you care about film in general, regardless of what the content, you must be gentle when transporting, handling, and or transferring. Although one can only do so much to protect their film elements during transfers–, accidents happen— deliver guys drop boxes, parcels get wet, they get delayed, etc, etc.
Being the nutty/anal retentive/OCD- that I am, I tend to take everything I do to the max, but in many cases, this is not a detriment, but just the opposite. My packing method shows that if something is worth doing, it is worth doing right. There may be some that disagree with my technique and think it is overkill, but I think it is essential. So much of American Film has been destroyed, lost and damaged beyond repair, so for the small percentage that still survives, it is vital to treat elements like valuables.
Here is how to pack archival film, to insure that it arrives at it’s location in perfect shape!
DETAILED STEPS AND PHOTOS TO TRANSPORT ARCHIVAL FILM ELEMENTS:
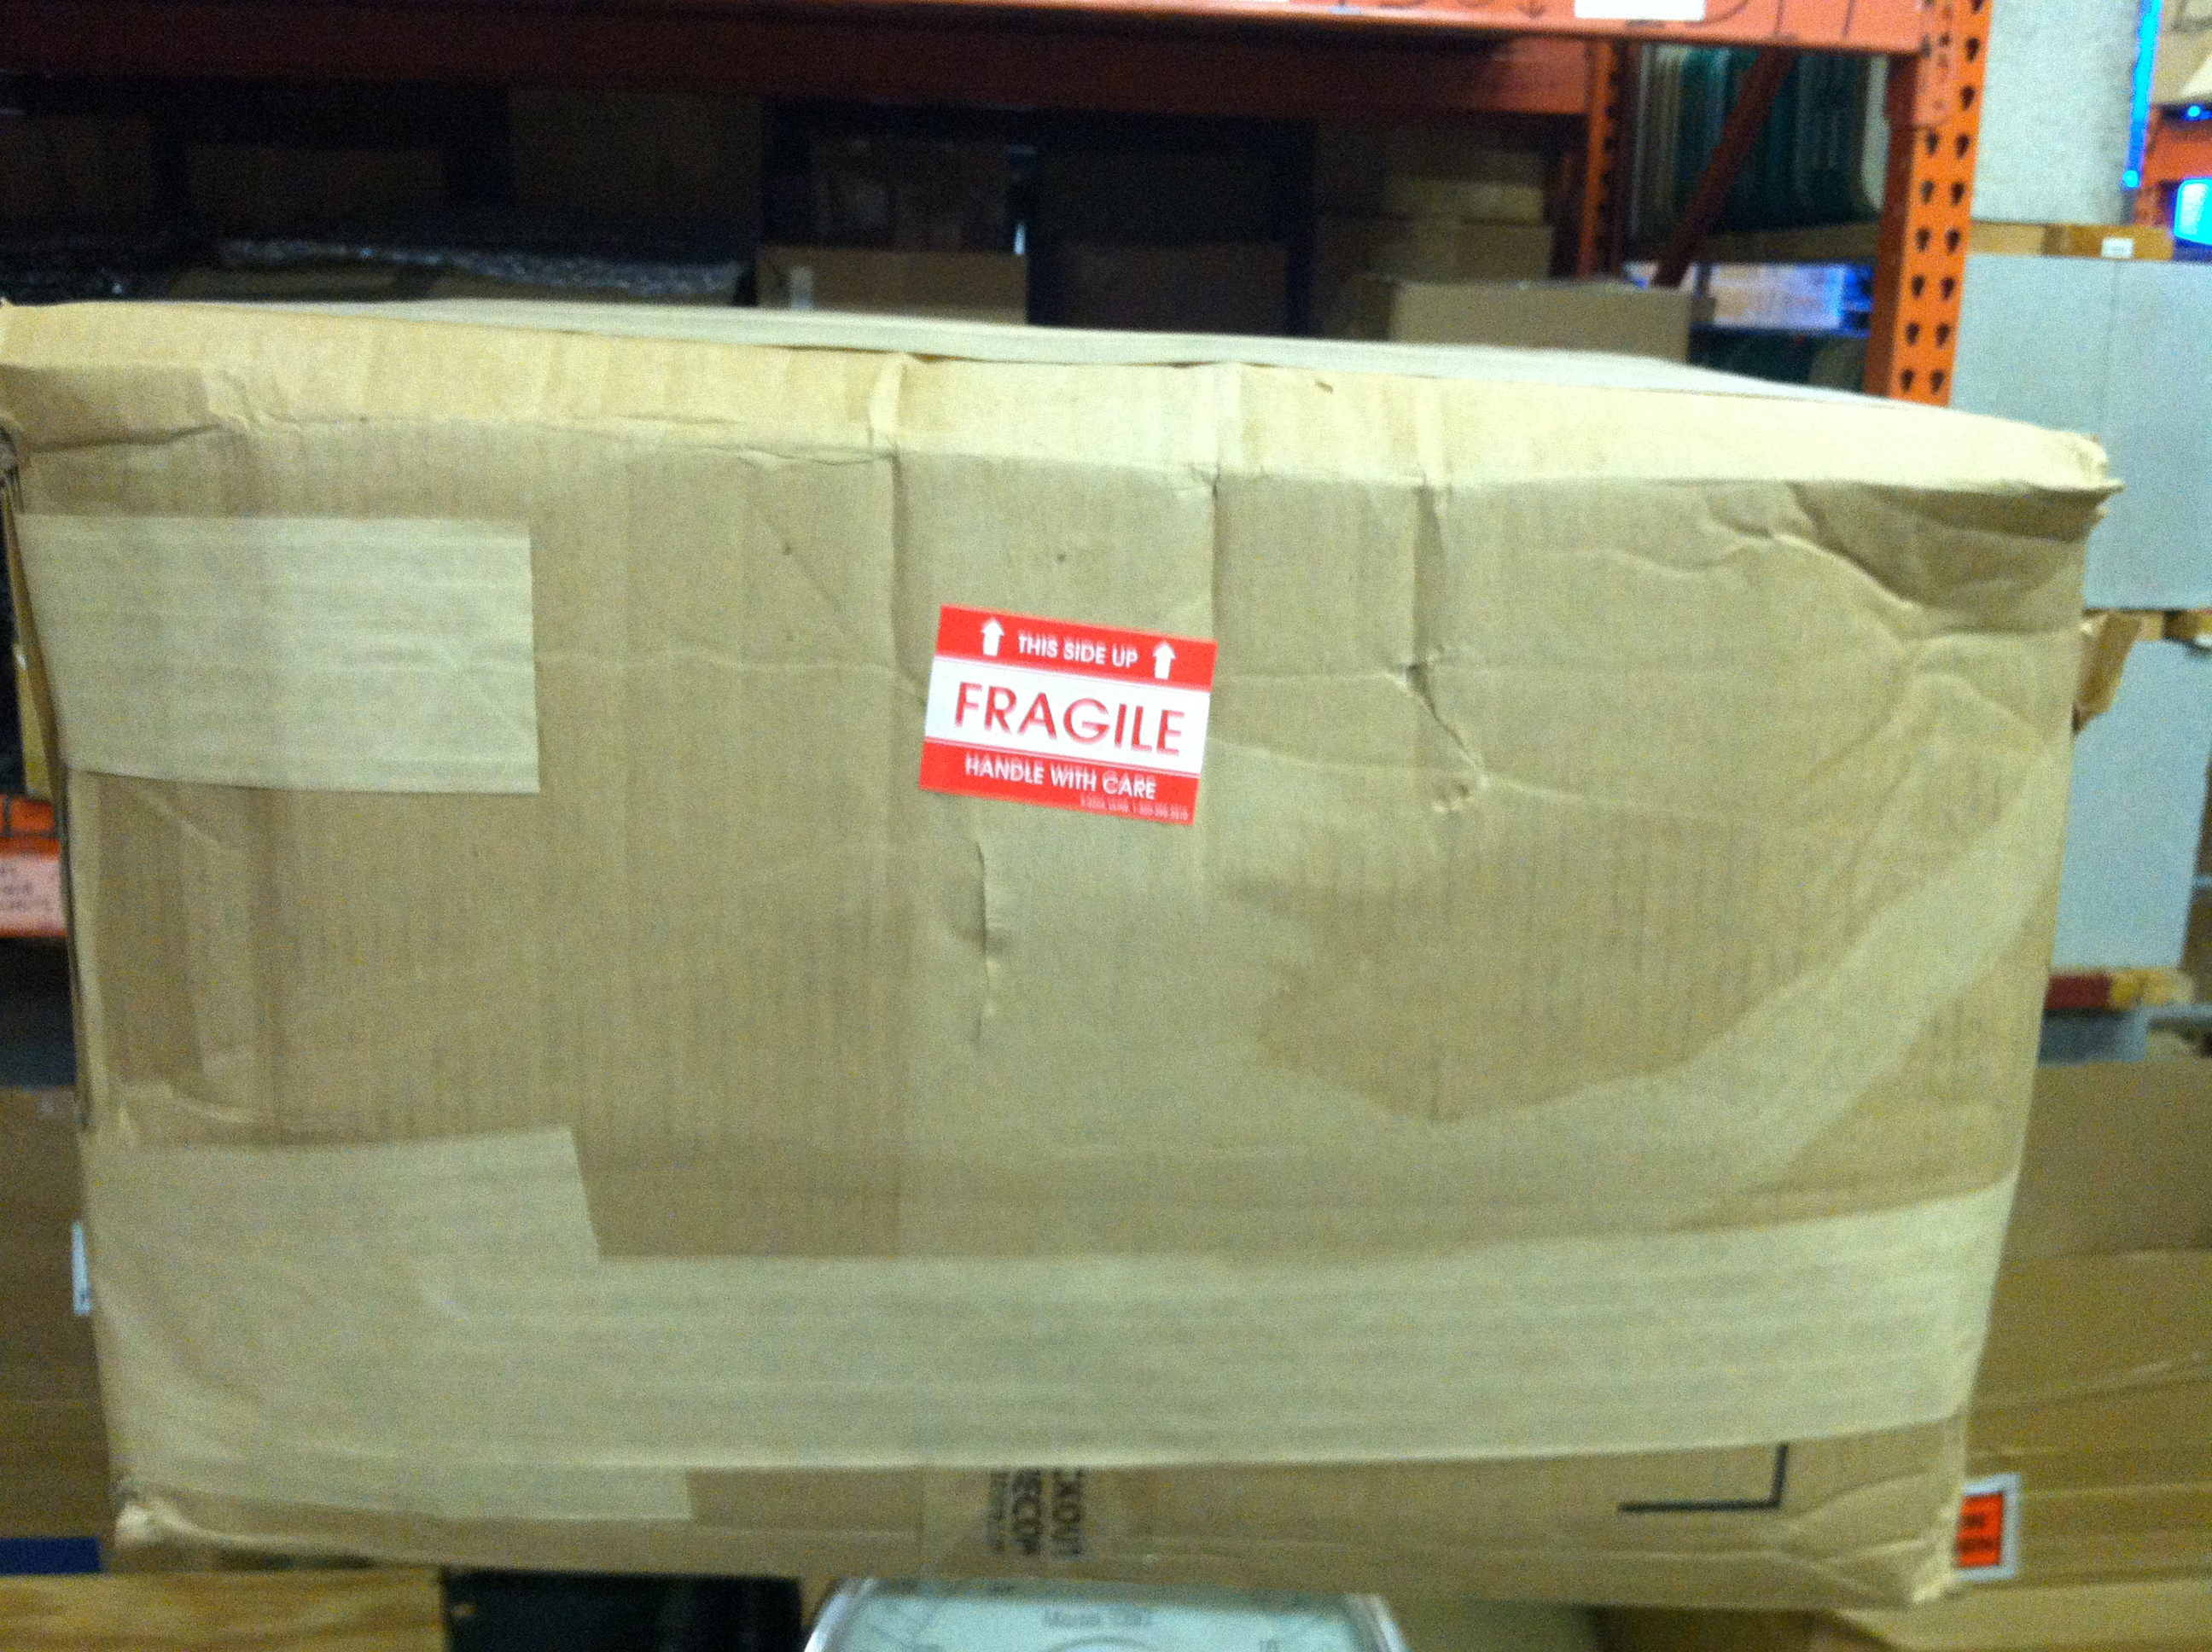
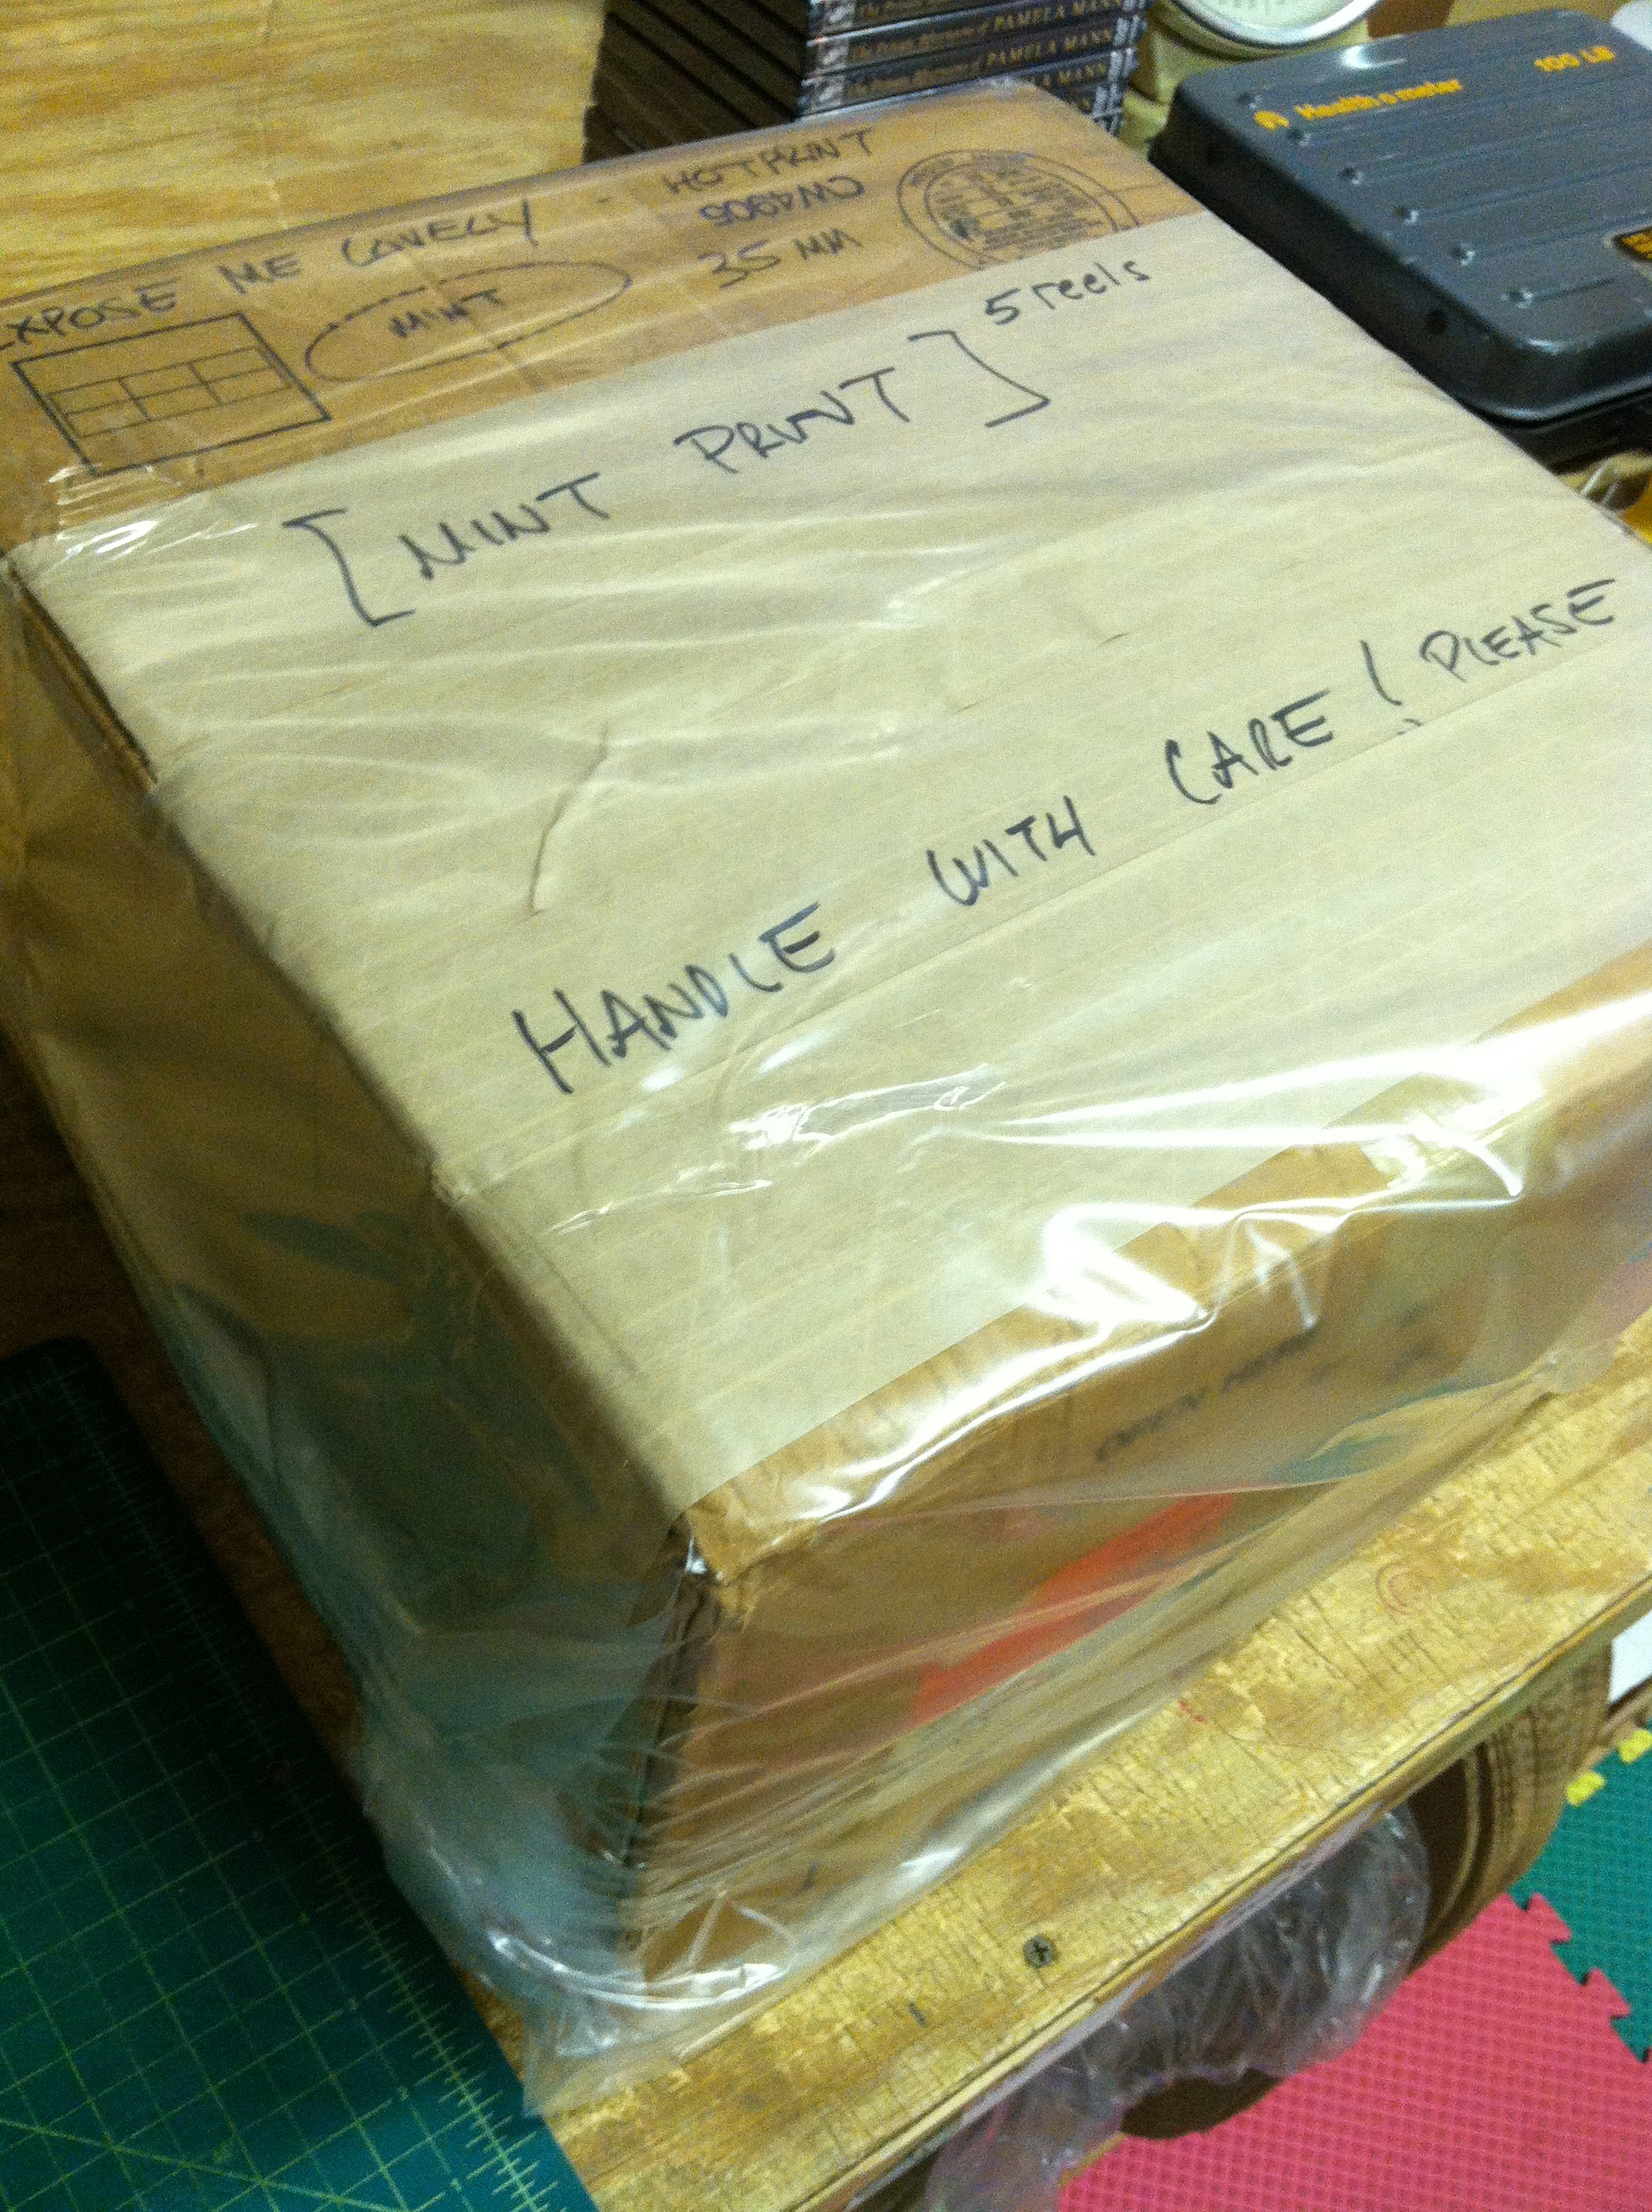
STEP 1. If using a cardboard box to transport elements, make sure the box is in good condition and if possible use an extra thick, corrugated box. This films is rather long and and contains 5 full reels, weighing about 50 pounds. A strong box is essential, and in my case, I use the double-box method.
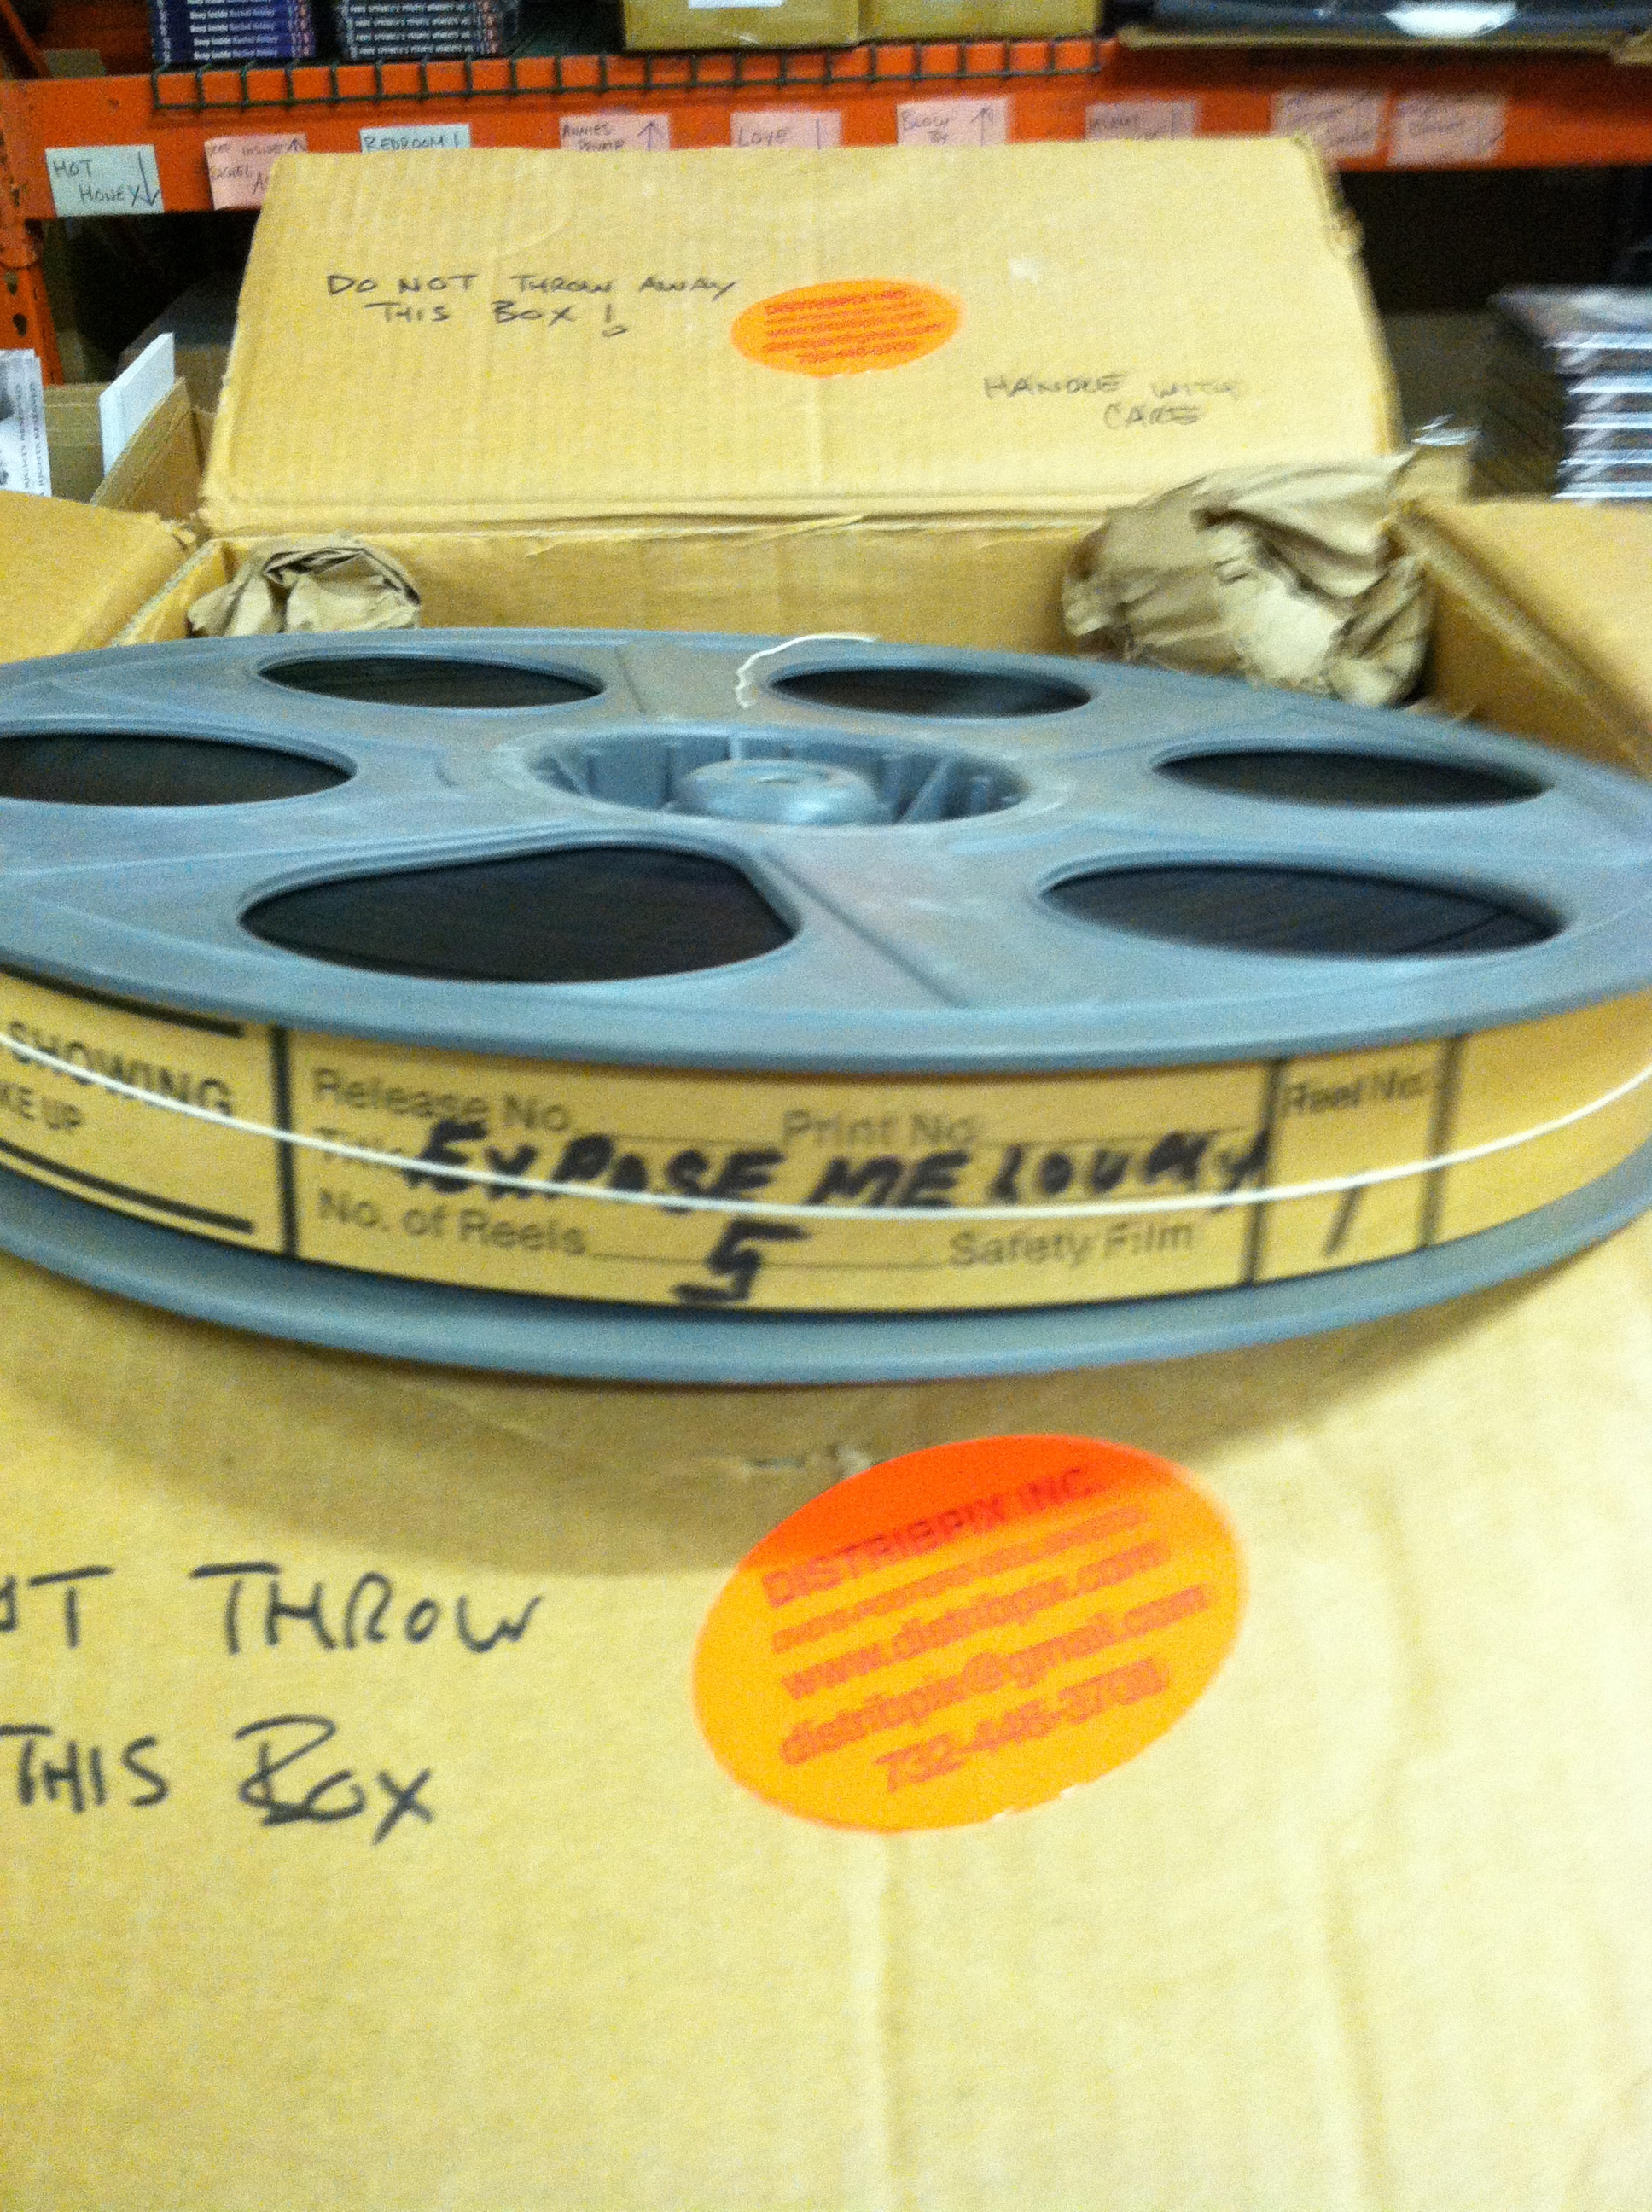
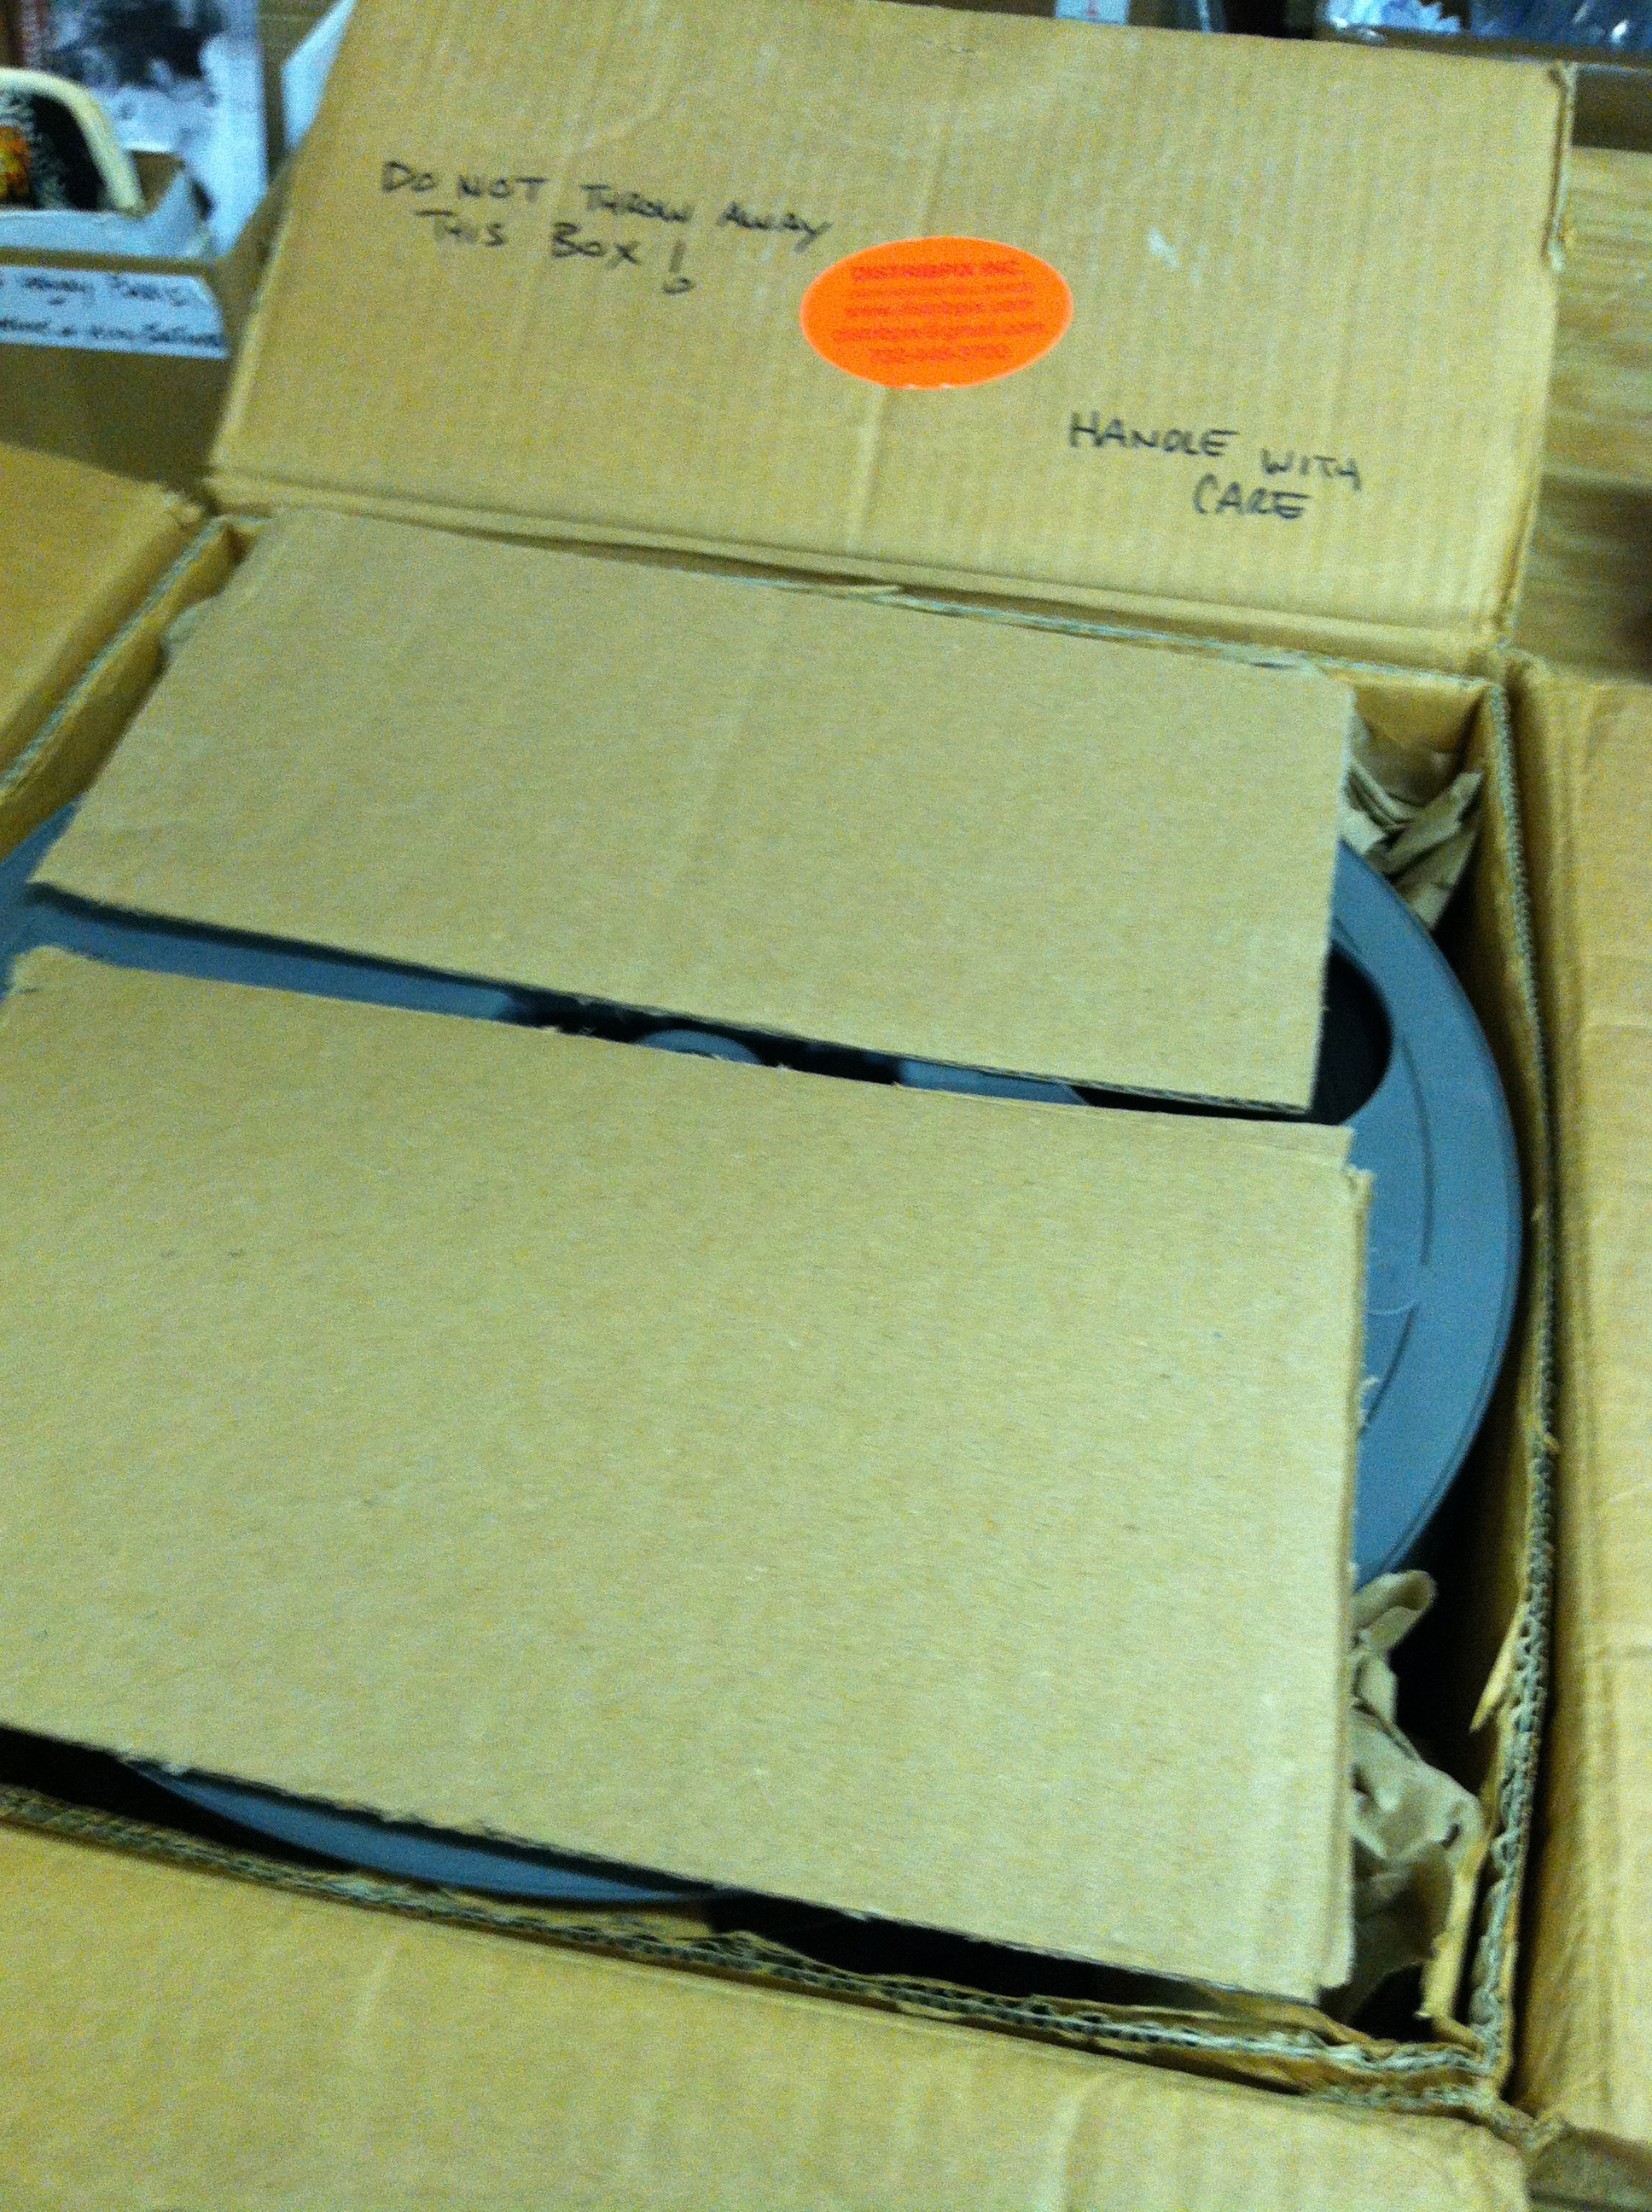
STEP 2. Stack Reels inside the box and use pieces of cardboard, newspaper and or bubble wrap, to reduce friction and or uneccessary movement. This may seem over kill, but the truth is that many theaters and film festivals, don’t always return the elements with same love as we send them, so the extra steps I take, will help that much more. For example, I make sure to mark my boxes with ” DO NOT THROW AWAY THIS BOX!”, because I want them to re-use them and basically, the work is done.

STEP 3. Complete the packing the box to the top, pack down the paper and make sure it is tight. Cut pieces of Cardboard, so they cover the top of the box, and essentially you are creating a home of protection around the film elements.
STEP 4. Close the box and continue to secure the box with heavy duty packing tape, I recommend one with reinforcing fibers. This will become your first box and essentially this can be shipped as is, but I like to take it a few steps further.

STEP 5: Take a heavy duty garbage liner, or plastic packing, and wrap the box, creating an extra barrier for accidental liquid encounters. Cardboard is like a sponge and if dropped in a puddle, or left wet for a few days in travel, it can soak through to the film inside.
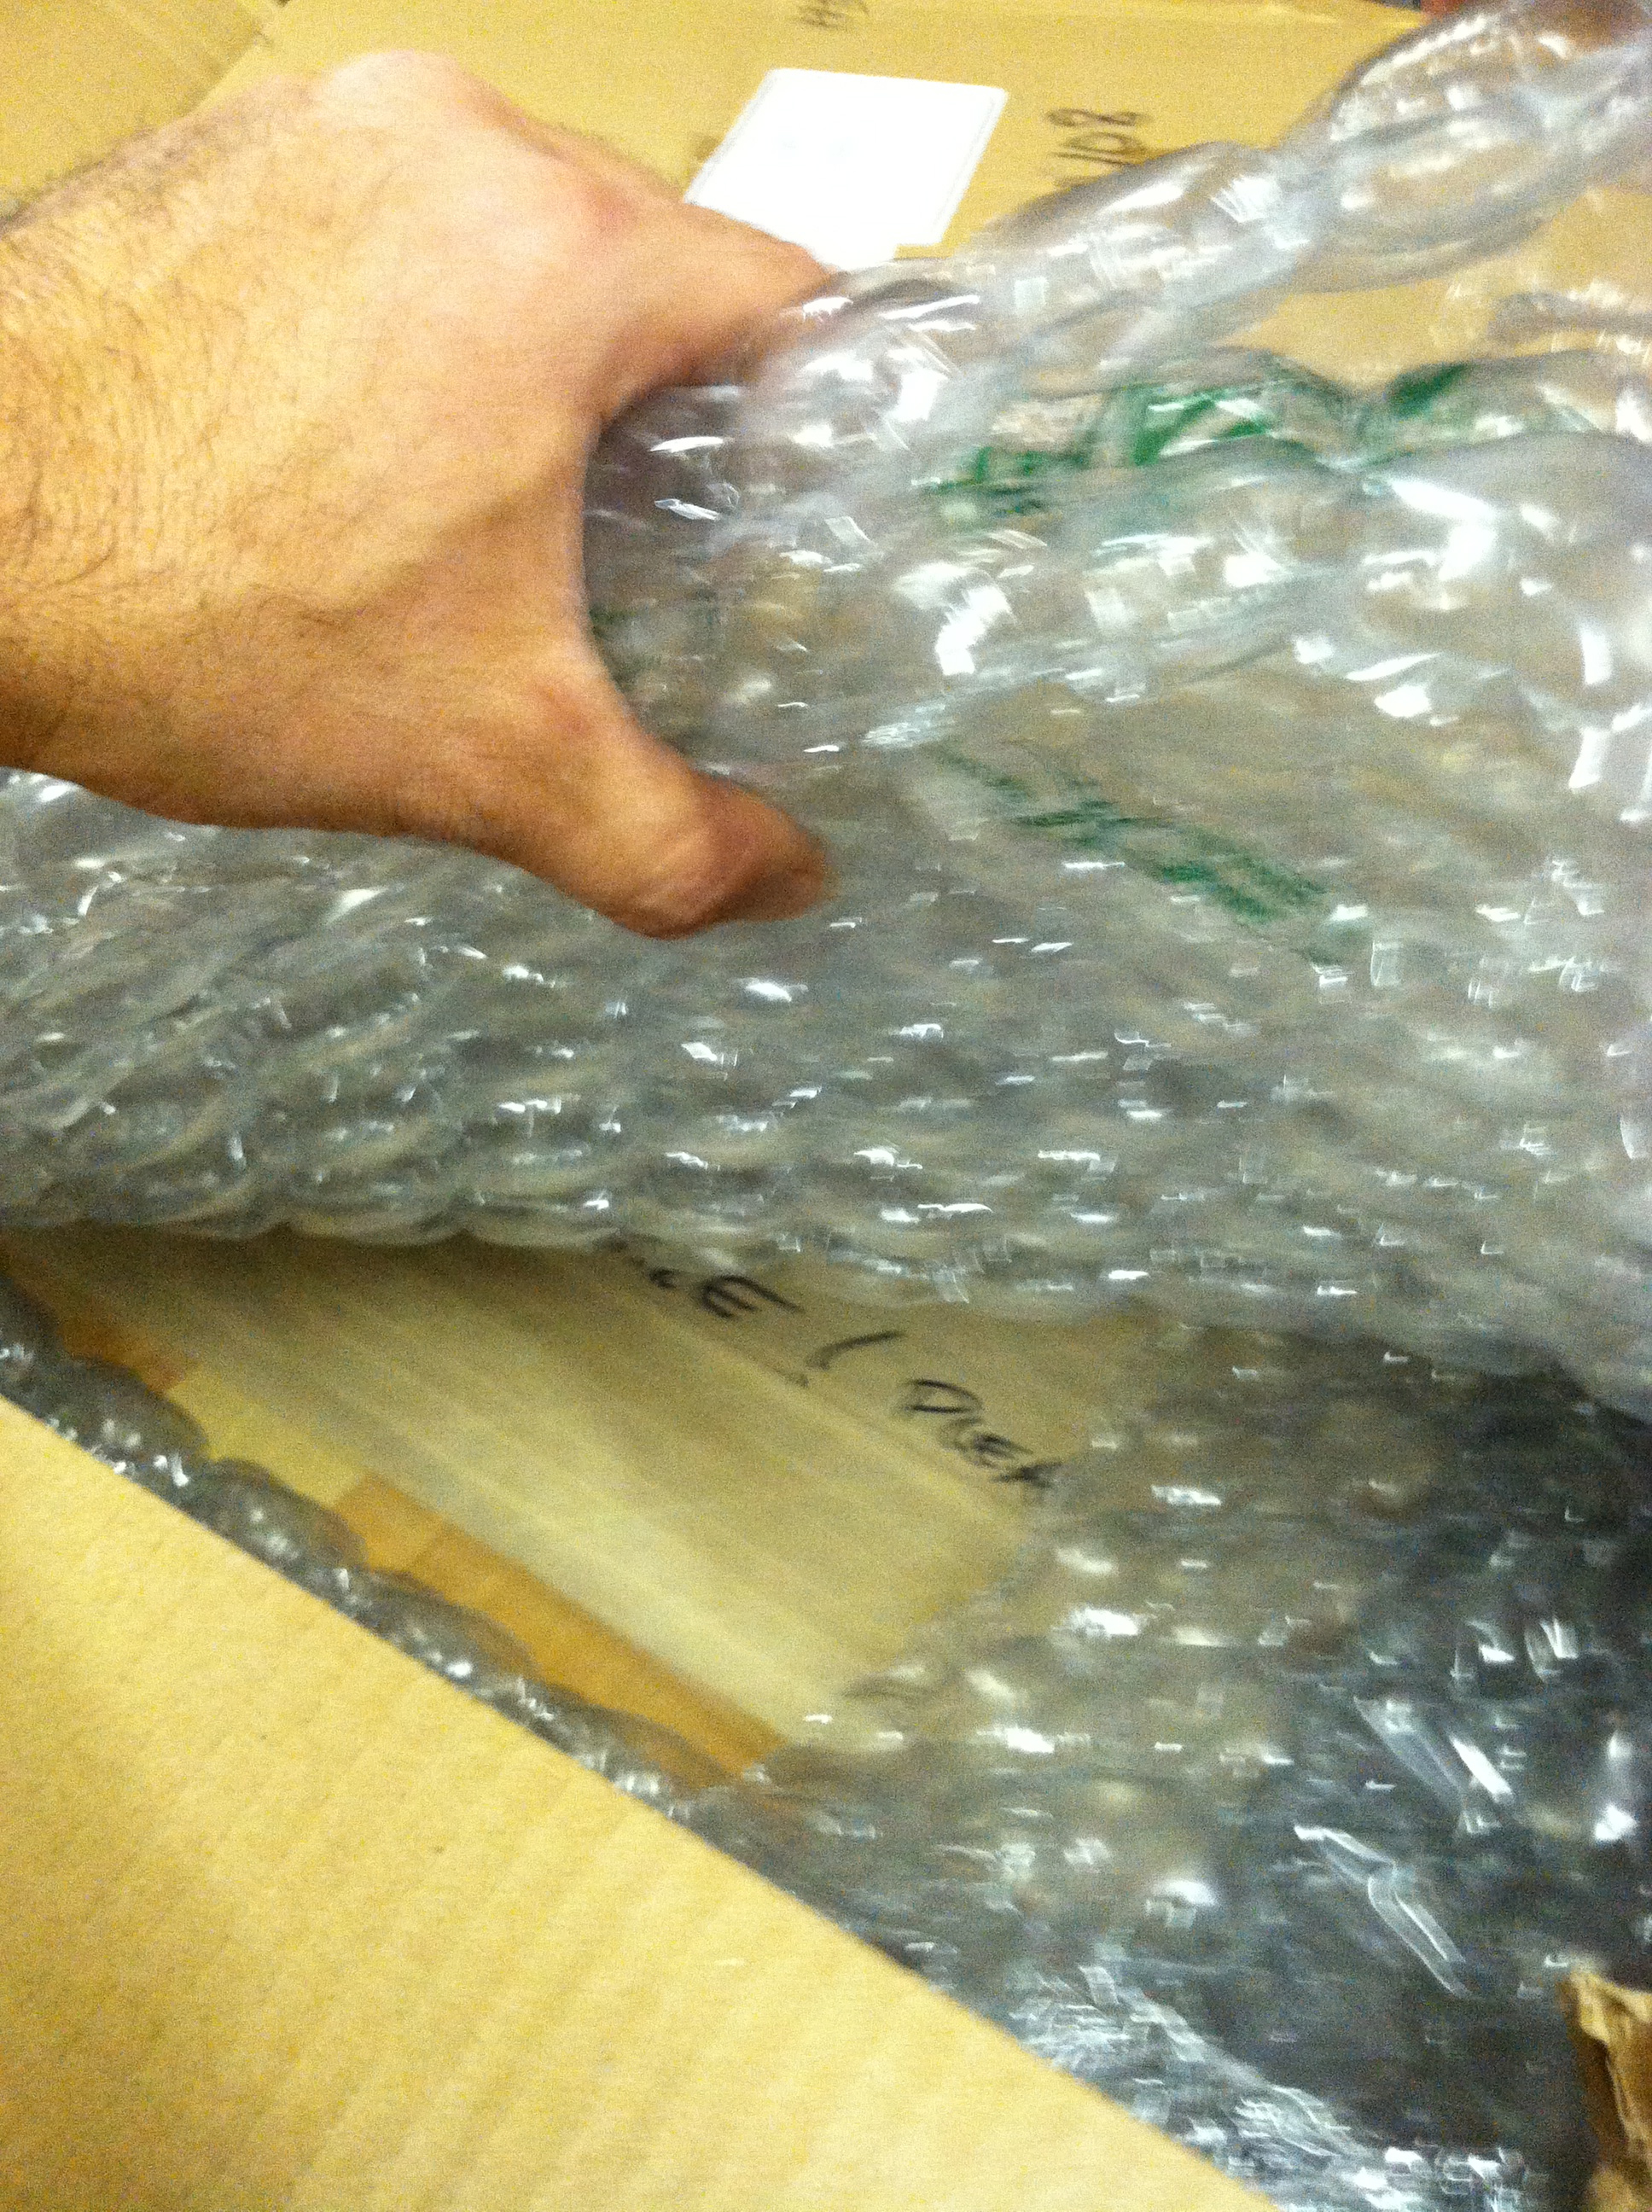
STEP 6: Take another cardboard box, that is a bit larger than the film element box. Use bubble wrap to create a padded nook for your elements box. This is easy to do, only takes a few minutes and something I have adopted recently.
STEP 7: Continue to further pad and close the second box or OUTER BOX, as you did the first, use the same tape to mark the outer box and you are ready to ship!
STEP 8: Your films elements are as safe as they can be for their journey. It is recommended to put a note in the box, for the projectionist, with any requests or comments. It only takes about 8-10 minutes to do this properly and if you have all of this material laying around, like I do, it is that much easier.